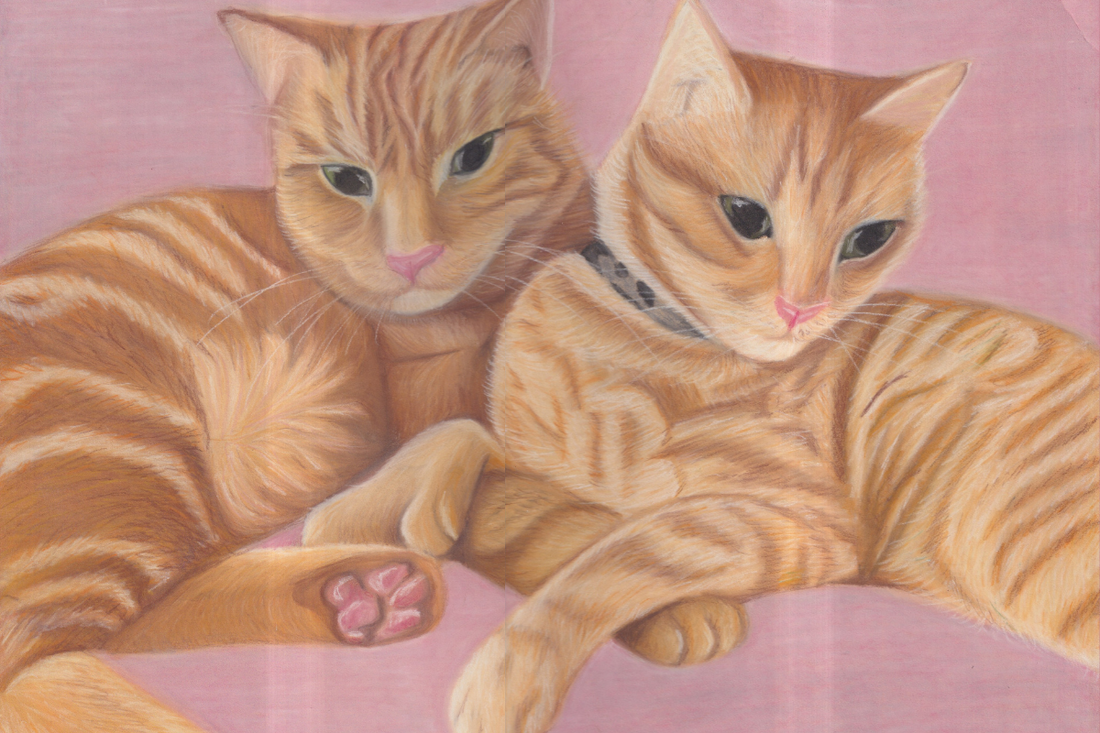
The Process of Turning a Photo into a Beautiful Pet Portrait
Share
As a pet portrait artist based in Glasgow, I’m often asked how I transform a single photograph of a beloved pet into a vibrant, lifelike work of art.
Every portrait is a story waiting to be told. Whether it’s a dog, cat, rabbit or any other cherished companion, the journey from a photograph to a finished piece is always personal and unique.
In this post, I’ll guide you through the process I use to create bespoke pet portraits in the UK. From choosing the perfect reference photo to adding the final touches, every stage is designed to capture pet personality in art and turn a moment into a timeless keepsake.
Step 1: Choosing the Perfect Photo
Every portrait begins with a single image. A good reference photo is the foundation for everything that follows, as it allows me to see the subtle details that bring a pet to life on paper.
Here’s what makes a wonderful reference photo:
-
Clarity and focus
The eyes are often the most expressive feature, so I look for a photo where they are sharp and clear. Blurry images can lose detail, and those tiny details are what make the portrait feel alive. -
Natural light
Soft, natural light brings out the richness of the fur and creates gentle highlights and shadows. It also helps me capture accurate colours and textures without harsh contrasts. -
Angles that show personality
While front-facing portraits can be striking, I often love working with images that show your pet at a slight angle. A thoughtful glance to the side or a playful tilt of the head can reveal so much character. -
Expression
A relaxed stretch, an alert pose, or that familiar look they give you at treat time. The right expression helps me reflect the soul of your pet in the final artwork.
If you have more than one image, that’s even better. I can combine elements from several photographs to create a portrait that feels true to your pet’s personality.
Step 2: Composition and Design
Once we’ve chosen the perfect reference, I carefully design the composition. I consider how your pet will be positioned, how to create balance, and how to keep the focus entirely on them.
For some portraits, I might suggest subtle hints of background such as soft greenery, delicate floral shapes or gentle tones that reflect a favourite place. The background should always support the portrait without overpowering it.
Sizing is also important. Larger portraits allow for fine detail, while smaller pieces work beautifully for more intimate compositions that highlight the pet’s face and expression.
Step 3: Sketching and Outlining
This stage is all about structure. I lightly sketch the outline using a grid system to ensure every proportion is correct. The placement of the eyes, nose, mouth and ears is key to achieving a lifelike likeness.
I take time here because accuracy in these early lines creates a strong foundation for the entire piece. It’s where the spirit of the portrait quietly begins to emerge.
Step 4: Layering with Pastels
The magic happens when I begin layering soft pastel pencils.
I work from the base layers upwards, building depth and richness with each stroke. Pastel pencils are incredibly versatile and allow me to recreate the soft sheen of fur, the glimmer of whiskers and the subtle tonal shifts that make the portrait feel alive.
I blend each layer with gentle tools and techniques to achieve smooth transitions and soft gradients. It’s a patient, tactile process that gives pastel portraits their signature depth and warmth.
Special attention is always given to the eyes. I build in highlights, shadows and delicate reflections so they appear expressive and full of life. This is where personality truly shines through.
Step 5: Adding the Fine Details
Once the main layers are complete, I begin refining every detail.
I draw delicate fur strands, whiskers and the soft folds of skin that make each pet unique. I carefully balance light and shadow to ensure the portrait feels dimensional and harmonious.
This is the stage where the piece transforms from a drawing into something that looks as if it could breathe. It’s about capturing more than what the pet looks like. It’s about capturing who they are.
Step 6: Finishing Touches and Protection
When the final layers are complete, I step back and look at the portrait as a whole. I make tiny adjustments to ensure balance, warmth and depth. Small highlights are added to bring everything together.
Once dry, the portrait is sprayed with a protective fixative to prevent smudging and preserve the artwork for years to come. It can then be beautifully framed or carefully packaged, ready to become a treasured keepsake.
Celebrating the Heart of Your Pet
What makes pastel pencil pet portraits so special is not just the detail, but the emotion they hold. A hand-drawn portrait has the power to make people smile, laugh or cry as they see their beloved companion captured on paper. It honours the bond between people and their pets in a way that feels timeless.
Whether it’s a joyful gift, a memorial for a much-loved companion or a piece to celebrate a new arrival, a bespoke pet portrait is a meaningful way to treasure those memories forever.
See what my clients have to say.
Commission Your Own Portrait
If you’ve ever thought about having your pet’s personality captured in a hand-drawn portrait, I would love to hear their story. Together we can create a piece that reflects their spirit and gives you something beautiful to treasure for a lifetime.